When a large LED screen is built from panels manufactured at different times, achieving a seamless image is not simply a matter of connecting every cabinet and turning up the brightness.
Two LED cabinets can be physically identical, use the same pixel pitch and even come from the same manufacturer, yet display slightly different shades of white, red, green or blue. Once these cabinets are placed next to each other in a large LED video wall, those differences can become surprisingly visible.
This is especially important for live events, concerts, corporate conferences, exhibitions, broadcast productions, product launches and camera-facing LED screens. A small colour variation that is difficult to notice on an individual cabinet can become an obvious patch, band or colour shift when dozens or hundreds of cabinets are combined.
This is where LED colour matching and display calibration become essential.
For multi-batch LED screen setups, calibration is the process of bringing different LED cabinets, modules and pixels closer to a common visual target so that the completed screen appears consistent across its entire surface. Modern LED control systems can use brightness calibration, chroma calibration, gamma adjustment, colour-temperature control and colour-space management to improve consistency. NovaStar documentation, for example, specifically includes functions for adjusting cabinets or modules from multiple production batches to make overall screen chroma more uniform.
For event production companies, this is not merely a technical detail. Consistent colour directly affects the quality of what audiences, photographers and cameras see.
Why Do Different LED Batches Look Different?
LED screens are made from large numbers of individual LEDs and electronic components. Even when manufacturing specifications are tightly controlled, components can have small variations in their optical characteristics.
A new production batch may therefore behave slightly differently from an older batch.
For example, one group of cabinets might produce a neutral-looking white while another group appears slightly warmer or cooler. A red brand logo might look deeper on one section of the wall and slightly brighter or more orange on another.
These differences can become more noticeable when:
- Cabinets from different production batches are combined.
- Replacement modules are installed into an existing screen.
- Older panels have experienced more operating hours than newer ones.
- Different LED manufacturers or component specifications are used.
- Cabinets have different calibration coefficients.
- Brightness levels are changed without recalibrating colour balance.
- Screens are used at low brightness levels where colour and grayscale inconsistencies can become more visible.
- Multiple LED walls are placed side-by-side at an event.
- The LED screen is being filmed by professional cameras.
The problem is therefore not necessarily that one cabinet is “faulty”. It may simply have a different optical response from the cabinets surrounding it.
Modern LED systems address this through calibration rather than relying entirely on manual visual adjustment.
What Is LED Colour Calibration?
LED colour calibration is the process of measuring and adjusting an LED display so that its brightness and colour output are more consistent across the screen.
At a basic level, calibration can involve adjusting the relative output of red, green and blue LEDs. More advanced systems can perform pixel-level brightness and chromaticity calibration.
NovaStar receiving-card technology, for example, supports pixel-level brightness and chroma calibration on compatible systems. Its documentation explains that these functions can reduce colour discrepancies and improve brightness and chroma consistency.
Professional calibration may involve a measurement device such as a colorimeter or spectroradiometer. The display is measured, the results are compared against a defined target, and correction coefficients are generated and applied through the LED control system.
This is significantly more reliable than simply standing several metres away from the screen and deciding which cabinet “looks a little too blue.”
Human vision is useful for evaluating the final result, but measurement provides a much more repeatable starting point.
Brightness Matching vs Colour Matching
One of the most important distinctions in LED screen calibration is that brightness consistency and colour consistency are not exactly the same thing.
Brightness calibration
Brightness calibration aims to ensure that different pixels, modules or cabinets produce a consistent level of luminance.
Without it, an LED wall can appear patchy, with certain modules looking noticeably brighter or darker.
Chroma or colour calibration
Chroma calibration goes further by addressing the actual colour output of the LEDs.
Two modules could theoretically have similar brightness but still produce different colours. One may have a slightly different red, green or blue response, creating a visible colour cast.
Advanced LED calibration systems can therefore compensate for both brightness and chromaticity.
This distinction becomes particularly important for multi-batch LED screens, where brightness may appear relatively consistent while colour reproduction still differs between cabinets.
Why Multi-Batch LED Screens Need Extra Attention
Imagine an event requiring a 12-metre-wide LED backdrop.
The production team has:
- 60 cabinets from Batch A
- 24 cabinets from Batch B
- 16 replacement cabinets from Batch C
All three batches have the same nominal pixel pitch.
On paper, they appear compatible.
Once assembled, however, the screen may reveal subtle differences between the sections.
A white background could expose a warmer section. A full-screen blue graphic could make another section appear slightly darker. A corporate logo may appear different depending on which cabinet is displaying it.
This is why multi-batch LED screen calibration should be considered during planning rather than treated as an emergency correction after the screen is already installed.
NovaStar’s configuration documentation specifically identifies “multi-batch cabinets” as an application for adjusting the chroma of cabinets or modules from multiple batches to make overall screen chroma more uniform.
The Calibration Workflow
A professional LED colour-matching process should be systematic.
1. Identify the LED inventory
Before calibration begins, technicians should understand what they are working with.
Record information such as:
- Cabinet model
- Pixel pitch
- Module type
- Production batch
- Receiving-card type
- Driver IC
- Existing calibration data
- Cabinet orientation
- Previous repairs or module replacements
- Operating hours where relevant
This information helps identify why certain sections may behave differently.
A replacement module, for example, should not automatically be assumed to have the same calibration characteristics as the module it replaced.
2. Assemble the complete screen
Calibration is most meaningful when the complete display configuration is known.
The LED wall should be assembled according to the intended event layout, including any different cabinet batches that will appear next to each other.
This is particularly important for irregular screens, curved configurations and multi-screen environments.
A calibration that looks perfect on a small test section may need further adjustment once the entire wall is assembled.
3. Allow the system to stabilise
LED displays can change slightly as operating conditions stabilise.
Temperature, operating brightness and other environmental conditions can influence display behaviour. For this reason, calibration should not be performed immediately after powering up a completely cold system and then assumed to represent the final operating condition.
The calibration environment should also be controlled as much as practical.
Professional calibration guidance recommends stabilising environmental conditions and allowing the display to warm up before measurement so that readings are more representative.
4. Establish the target
There needs to be a defined visual target.
Depending on the production, this could involve:
- A specified white point
- A target colour temperature
- A defined brightness level
- A colour gamut
- A broadcast colour standard
- A camera-matching requirement
- A creative reference approved by the client
For camera-facing productions, the LED wall may need to be matched not only to what looks pleasing to the human eye but also to the requirements of the camera and content workflow.
Modern LED control systems can support colour-space management and targets such as Rec.709, DCI-P3 and Rec.2020 on compatible hardware.
5. Measure the display
For professional colour-critical work, measurement equipment provides objective data.
A colorimeter or spectroradiometer can measure the light output of the LED display.
Rather than saying:
“This section looks slightly green.”
the technician can determine that the section is producing a measurable difference from the selected target.
Point-by-point calibration can then generate correction data for the display.
The exact measurement method depends on the hardware, software and calibration system being used.
6. Apply calibration coefficients
Calibration software can calculate correction coefficients based on the measured differences.
These coefficients are then applied through the appropriate LED control architecture.
Depending on the equipment, correction data may be stored in receiving cards, module memory or other parts of the display system.
This is one reason calibration data should be treated as part of the technical record for an LED screen.
Some compatible NovaStar systems, for example, support storing calibration coefficients and restoring them when modules are replaced, helping maintain consistent display performance.
7. Match brightness and chroma
The technician then evaluates both brightness and colour consistency.
A screen may require:
- Brightness correction
- RGB balance adjustment
- Chroma correction
- White-balance adjustment
- Gamma adjustment
- Colour-temperature adjustment
- Colour-gamut configuration
These settings should not be treated as independent switches.
Changing one parameter can affect the overall visual appearance.
NovaStar’s current documentation describes brightness, gamma, colour temperature and colour-space adjustments as tools for changing the display’s brightness and chroma performance.
The Role of Gamma in LED Colour Matching
Gamma is particularly important when the LED wall is displaying darker content.
A screen can look reasonably uniform on a bright white test pattern but reveal significant differences in shadow areas, gradients and low-grayscale content.
Individual RGB gamma adjustment can help address colour non-uniformity and white-balance shifts at lower grayscale levels on compatible systems.
This matters for modern event content because LED walls are rarely displaying solid white all night.
They may show:
- Dark cinematic backgrounds
- Animated gradients
- Product photography
- Skin tones
- Stage visuals
- Logos
- Live camera feeds
- Concert graphics
- Virtual environments
If calibration only considers high-brightness content, problems may become visible when the content changes.
Why White Balance Matters
White is one of the most revealing test colours for an LED wall.
If the red, green and blue channels are not balanced correctly, a supposedly white image may appear:
- Warm
- Cool
- Pink
- Green
- Blue
On a small screen, the difference may be subtle.
On a 10-metre LED wall viewed by hundreds or thousands of people, it can become much more noticeable.
White balance is also particularly important when a screen is being photographed or filmed because cameras can reveal colour differences that audiences might overlook.
Camera Work Makes Calibration Even More Important
An LED screen can look acceptable to the audience while still creating problems on camera.
This is especially relevant for:
- Broadcast events
- Livestreams
- Concert filming
- Corporate keynotes
- Award ceremonies
- Product launches
- Virtual production
- XR environments
When a camera moves across a large LED wall, inconsistent sections can become obvious.
For virtual production and camera-facing LED environments, colour accuracy is even more critical because the LED wall is effectively part of the visual environment being captured by the camera.
Professional LED processing systems also provide features intended to improve low-brightness performance and camera-facing operation. Brompton, for example, describes its calibration and processing tools as addressing differences between LED batches and helping with low-brightness performance.
Don’t Forget Seam Brightness
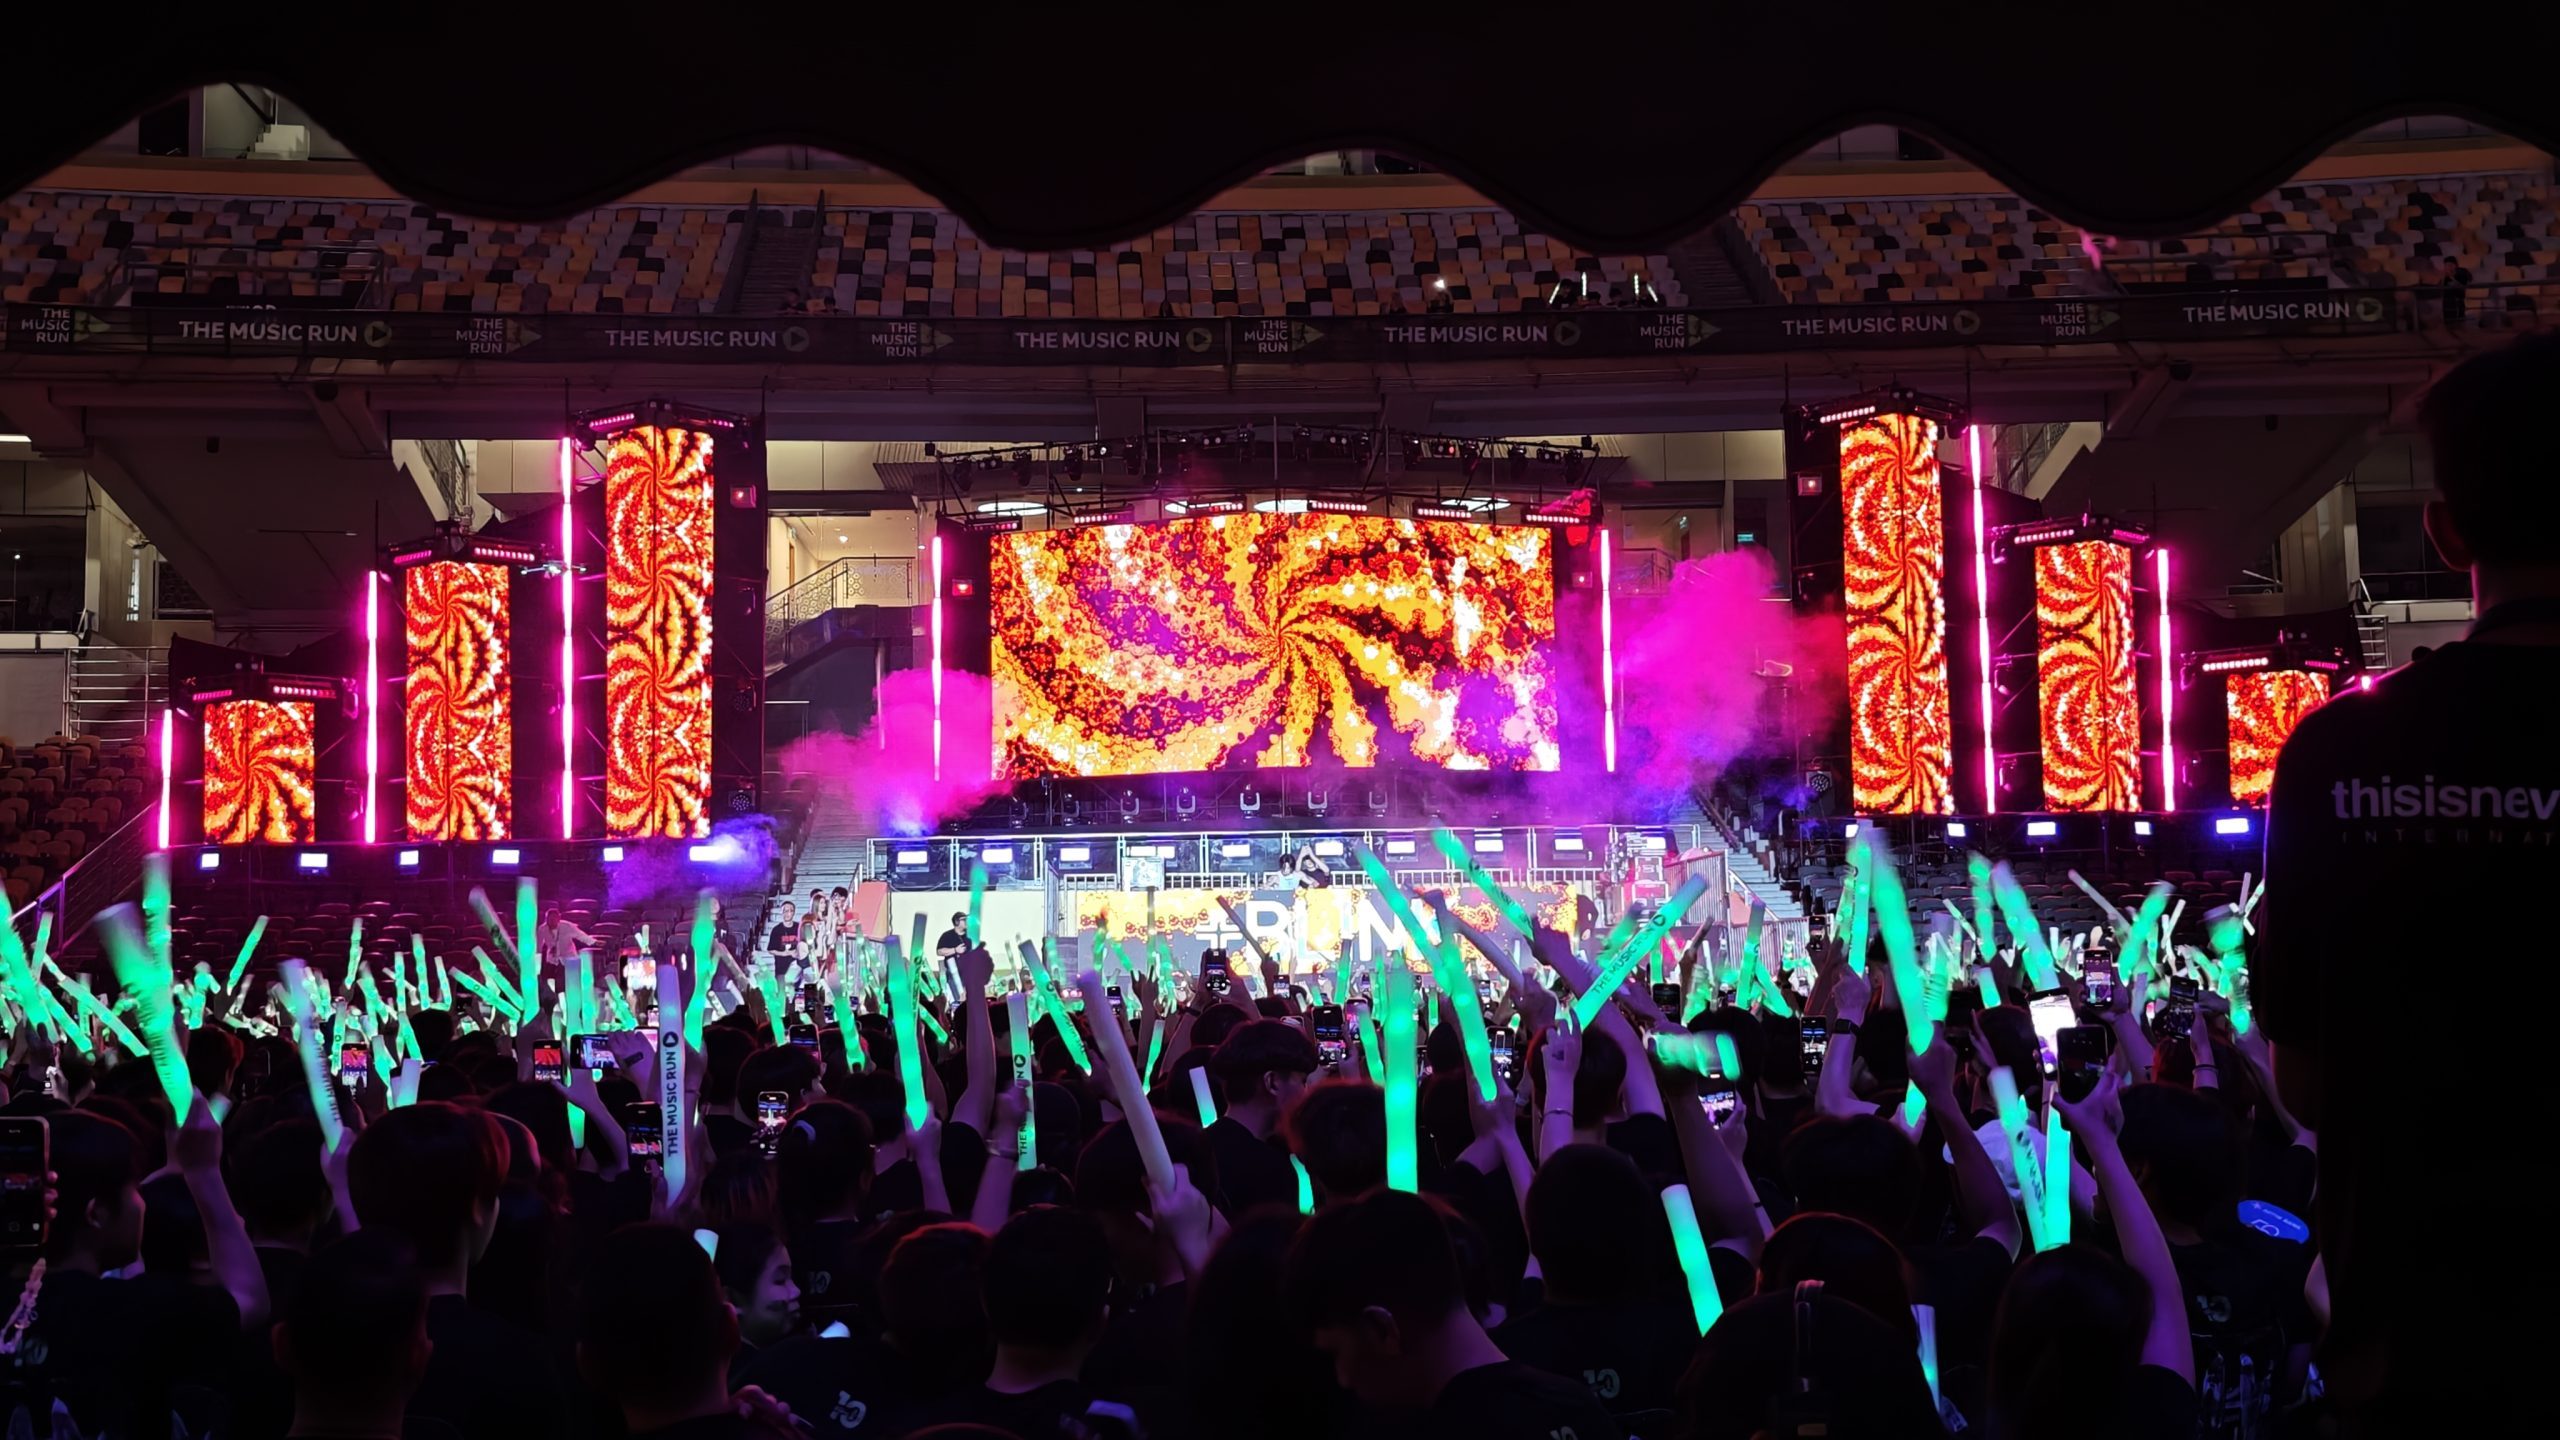
Colour matching is only one part of creating a seamless LED wall.
Physical cabinet joins can sometimes create visible lines where adjacent modules or cabinets have slightly different brightness.
Even when colour is correctly calibrated, a bright or dark seam can disrupt the image.
Some LED control systems therefore provide dedicated seam-correction functions alongside brightness and chroma calibration. NovaStar documentation describes quick seam correction for bright or dark lines caused by cabinet and module splicing.
The goal is not simply to make every cabinet individually look good.
The goal is to make the entire screen look like one continuous display surface.
Common LED Calibration Mistakes
Calibrating only one cabinet
A single cabinet may look perfect while the complete wall still contains variations.
Always evaluate the complete screen configuration whenever possible.
Matching by eye alone
Human visual perception changes according to ambient lighting, surrounding colours and viewing position.
Visual inspection is valuable, but measurement provides greater consistency for colour-critical work.
Ignoring older cabinets
Older LED panels may have different characteristics from newly manufactured replacements.
Do not assume that identical model numbers guarantee identical optical output.
Changing brightness after calibration
If brightness or RGB parameters are significantly changed after calibration, the visual result may change.
The screen should be rechecked after major adjustments.
Forgetting the camera
If the event will be filmed, calibration should be assessed through the actual camera workflow rather than only from the audience viewing position.
Mixing calibration files incorrectly
Calibration data should be documented and managed carefully.
Applying the wrong coefficients to the wrong cabinet or module can create new inconsistencies instead of solving them.
A Practical Pre-Event Calibration Checklist
Before opening the doors to an event, the technical team should verify:
- All LED cabinets are correctly identified.
- Different production batches have been identified.
- Replacement modules have been checked.
- The full LED wall has been assembled.
- The display has been allowed to stabilise.
- Brightness uniformity has been checked.
- RGB/chroma consistency has been checked.
- White balance has been verified.
- Gamma and low-grayscale performance have been checked.
- Colour-space settings match the production requirements.
- Seam brightness has been inspected.
- Test patterns have been displayed.
- Real event content has been tested.
- Camera feeds have been checked if the event is being filmed.
- Calibration data has been saved and documented.
- Replacement modules and spare cabinets have been considered.
- Final approval has been completed before the audience enters.
This final check is particularly valuable for high-profile events where there is little opportunity to troubleshoot once the show is underway.
How Proper Calibration Improves Event Production
The benefit of calibration is not simply that the LED wall looks “nice.”
A properly matched LED screen can provide a more professional and controlled visual environment.
For event organisers and production teams, this can mean:
Better brand presentation
Corporate colours, logos and campaign graphics are more likely to appear consistently across the display.
Better photography and video
Colour inconsistencies are less distracting when the LED wall appears behind speakers, performers or products.
Better audience experience
Large colour blocks and gradients appear more uniform, helping the screen feel like one continuous canvas.
Faster technical troubleshooting
A documented calibration workflow makes it easier to identify whether a problem is caused by content, processing, cabling, a particular cabinet or calibration data.
More predictable replacement management
When a module or cabinet needs to be replaced, maintaining calibration information can make it easier to bring the replacement closer to the surrounding display.
Calibration Is Not a One-Time Concept
One of the biggest misconceptions about LED colour matching is that calibration happens once and the problem disappears forever.
LED screens are working electronic systems.
Modules can be replaced. Cabinets can be rearranged. Components can age. Firmware and processing configurations can change. Screens can be transported between venues and rebuilt in different configurations.
For that reason, calibration should be treated as part of the LED screen maintenance and event preparation workflow, especially for frequently deployed rental inventory.
A screen that was perfectly matched at one event should still be checked when it is deployed for another major production.
Choosing the Right Calibration Approach
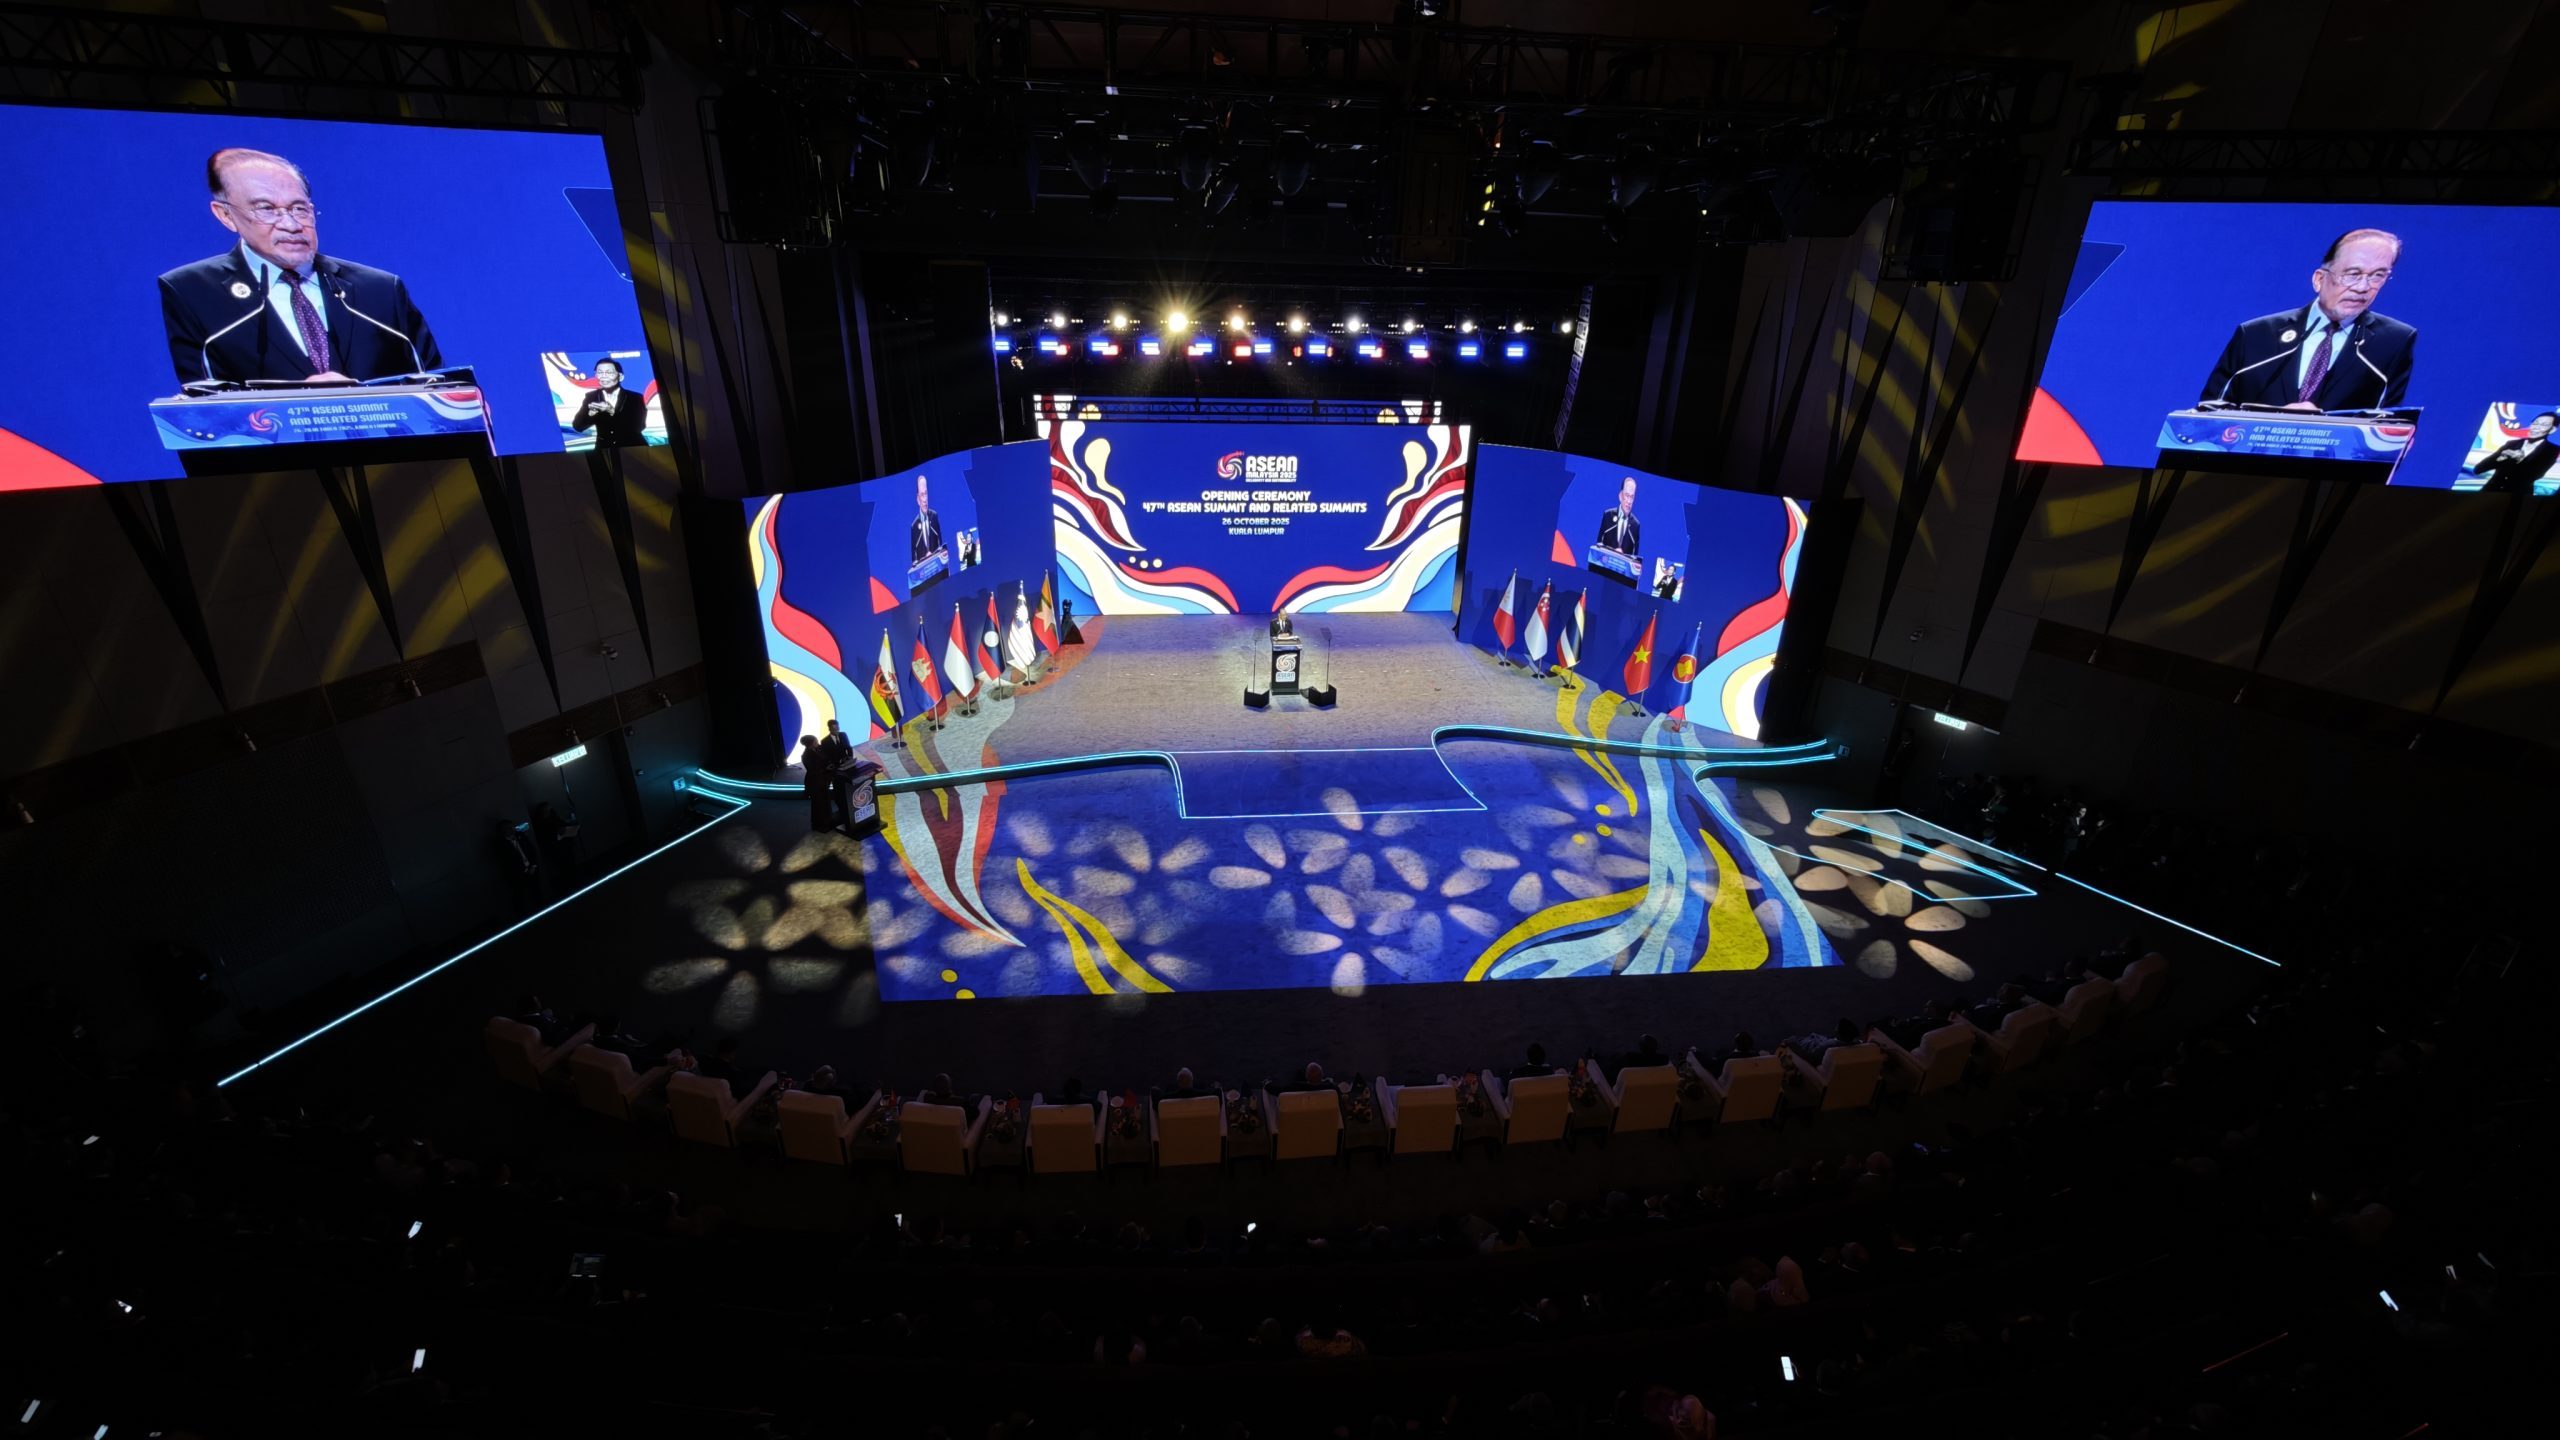
Not every LED screen requires the same level of calibration.
A small indoor display used primarily for simple graphics may not need the same calibration workflow as a large broadcast-facing LED wall.
The appropriate approach depends on:
- Screen size
- Pixel pitch
- Viewing distance
- LED manufacturer
- Cabinet age
- Number of batches
- Brightness requirements
- Content type
- Camera requirements
- Venue lighting
- Event duration
- Brand colour requirements
- Production budget
For standard event applications, consistent cabinet and module calibration may be sufficient.
For high-end broadcast, virtual production, XR or colour-critical environments, a more advanced measurement-based workflow can provide greater control.
The important point is to match the calibration process to the production requirements rather than treating every LED wall identically.
Why Experienced LED Event Production Matters
LED screen technology has become an increasingly important part of modern events. But the quality of an LED display depends on much more than its pixel pitch or resolution.
The screen must be correctly configured, processed, calibrated, tested and operated.
For multi-batch setups, colour matching becomes particularly important because the audience should not be able to identify where one production batch ends and another begins.
The best result is when the entire LED wall behaves visually as one surface.
That requires planning before installation, technical testing during setup and careful calibration before the event goes live.
At DOREMi Events, professional event production should go beyond simply supplying an LED screen. The objective is to help create a reliable visual system that performs consistently in the real event environment—from setup and calibration through to showtime.
Whether an LED wall is being used for a corporate presentation, concert, product launch, exhibition, stage backdrop or large-scale live production, colour consistency can make a significant difference to the finished result.
When multiple LED batches come together, calibration is what helps make them look like one screen—not several screens placed next to each other.
To wrap it up
LED colour matching is a technical process, but its impact is highly visible.
Different LED batches can introduce differences in brightness, chromaticity, white balance and grayscale behaviour. Without proper calibration, these differences may appear as patches, colour shifts, uneven whites or visible boundaries across a large LED wall.
A professional workflow combines appropriate measurement, calibration software, receiving-card or processor capabilities, controlled operating conditions and final visual verification.
For event production, the objective is simple: consistent, reliable and camera-ready LED performance.
The technology behind achieving that result can be sophisticated, but the principle is straightforward every part of the LED wall needs to work together as one visual surface.
And when the screen is supporting an important event, that consistency is not just a technical advantage. It is part of the production quality your audience sees.
Need a Safe and Reliable LED Wall Installation for Your Event?
Work with a production team that understands the relationship between lighting, staging, sound, visuals, power and weather from the beginning. With the right technical planning, high-output LED profiles become more than powerful fixtures—they become tools for shaping the entire audience experience.
At DOREMi Events, the goal is not simply to put more light on a stage. It is to help create the right technical environment for the event, from planning and equipment selection to production and execution.
Because when the sun goes down, that’s when the real lighting work begins.